Html: Links
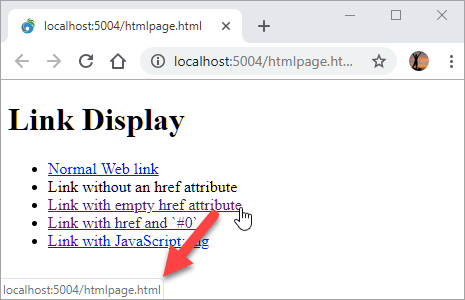
Links are the defining feature of the web because they allow you to move from one web page to another — enabling the very idea of browsing or surfing. Links are created using the (a) element. Users can click on anything between the opening (a) tag and the closing (/a) tag. You specify which page you want to link to using the href attribute.
(a href=”http://www.imdb.com”>IMDB</a)
- Linking to Other Sites: Users can click on anything that appears between the opening (a) tag and the closing (/a) tag and will be taken to the page specified in the href attribute. When you link to a different website, the value of the href attribute will be the full web address for the site, which is known as an absolute URL. Browsers show links in blue with an underline by default.
- Linking to Other Pages on the Sa me Site: When you are linking to other pages within the same site, you do not need to specify the domain name in the URL. You can use a shorthand known as a relative URL.
- Same Folder: If all the pages of the site are in the same folder, then the value of the href attribute is just the name of the file. (a href=”reviews.html”>Reviews</a)
- Child Folder: For a child folder, use the name of the child folder, followed by a forward slash, then the file name. (a href=”music/listings.html”>Listings</a)
- Parent Folder: Use ../ to indicate the folder above the current one, then follow it with the file name. (a href=”../index.html”>Home</a).
- Email Links: mailto: email-links.html HTML To create a link that starts up the user’s email program and addresses an email to a specified email address, you use the (a)element. However, this time the value of the href attribute starts with mailto: and is followed by the email address you want the email to be sent to.
- Opening Links in a New Window: target: If you want a link to open in a new window, you can use the target attribute on the opening (a) tag. The value of this attribute should be _blank.
- Linking to a Specific Part of the Same Page: Before you can link to a specific part of a page, you need to identify the points in the page that the link will go to. You do this using the id attribute (which can be used on every HTML element).
- Linking to a Specific Part of Another Page: As long as the page you are linking to has id attributes that identify specific parts of the page, you can simply add the same syntax to the end of the link for that page. Therefore, the href attribute will contain the address for the page (either an absolute URL or a relative URL), followed by the # symbol, followed by the value of the id attribute that is used on the element you are linking to.

CSS:Layout
we are going to look at how to control where each element sits on a page and how to create attractive page layouts.
Key Concepts in Positioning Elements:
- Building Blocks: CSS treats each HTML element as if it is in its own box. This box will either be a block-level box or an inline box.
- Block-level elements start on a new line Examples include: (h1) (p) (ul) (li).
- Inline elements flow in between surrounding text Examples include: (img) (b) (i).
- Containing Elements: If one block-level element sits inside another block-level element then the outer box is known as the containing or parent element.
Controlling the Position of Elements:
- Normal flow: Every block-level element appears on a new line, causing each item to appear lower down the page than the previous one. Even if you specify the width of the boxes and there is space for two elements to sit side-byside, they will not appear next to each other. This is the default behavior. the syntax would be: position: static;
- Relative Positioning: This moves an element from the position it would be in normal flow, shifting it to the top, right, bottom, or left of where it would have been placed. This does not affect the position of surrounding elements; they stay in the position they would be in in normal flow. You can indicate that an element should be relatively positioned using the position property with a value of relative.
- Absolute positioning: This positions the element in relation to its containing element. It is taken out of normal flow, meaning that it does not affect the position of any surrounding elements (as they simply ignore the space it would have taken up). Absolutely positioned elements move as users scroll up and down the page. When the position property
is given a value of absolute, the box is taken out of normal flow and no longer affects the position of other elements on the page. (They act like it is not there.)
- Fixed Positioning: Fixed positioning is a type of absolute positioning that requires the position property to have a value of fixed. It positions the element in relation to the browser window. Therefore, when a user scrolls down the page, it stays in the exact same place.
- Floating Elements: float: The float property allows you to take an element in normal flow and place it as far to the left or right of the containing element as possible. Anything else that sits inside the containing element will flow around the element that is floated.
- USING Float to Place Elements Side-by-Side: A lot of layouts place boxes next to each other. The float property is commonly used to achieve this. When elements are floated, the height of the boxes can affect where the following elements sit.
- Clearing Floats: clear: The clear property allows you to say that no element (within the same containing element) should touch the left or righthand sides of a box.
- Creating Multi-Column Layouts with Floats: The following three CSS properties are used to position the columns next to each other:
- width: This sets the width of the columns.
- float: This positions the columns next to each other.
- margin: This creates a gap between the columns.

Screen Sizes
Different visitors to your site will have different sized screens that show different amounts of information, so your design needs to be able to work on a range of different sized screens.
- Screen Resolution: Resolution refers to the number of dots a screen shows per inch. It is interesting to note that the higher the resolution, the smaller the text appears.
- Page Sizes: Because screen sizes and display resolutions vary so much, web designers often try to create pages of around 960-1000 pixels wide (since most users will be able to see designs this wide on their screens).
- Fixed Width Layouts: Fixed width layout designs do not change size as the user increases or decreases the size of their browser window. Measurements tend to be given in pixels.
- Liquid Layouts: Liquid layout designs stretch and contract as the user increases or decreases the size of their browser window. They tend to use percentages.
#Layout Grids
Grids set consistent proportions and spaces between items which helps to create a professional looking design.
Possible Layouts:
- 960 Pixel wide/12 Column Grid: The page is 960 pixels wide and there are 12 equal sized columns , each of which is is 60 pixels wide. Each column has a margin set to 10 pixels, which creates a gap of 20 pixels between each column and 10 pixels to the left and right-hand sides of the page.
CSS Frameworks
CSS frameworks aim to make your life easier by providing the code for common tasks, such as creating layout grids, styling forms, creating printer-friendly versions of pages and so on. You can include the CSS framework code in your projects rather than writing the CSS from scratch.
The 960.GS CSS Framework:
960.gs provides a style sheet that you can include in your HTML pages. Once our page links to this style sheet, you can provide the appropriate classes to your HTML code and it will create multiple column layouts for you.
Multiple Style Sheets: @import
There are two ways to add multiple style sheets to a page:
- 1: Your HTML page can link to one style sheet and that stylesheet can use the @import rule to import other style sheets.
- 2: In the HTML you can use a separate element for each style sheet.
JS: FUNCTIONS
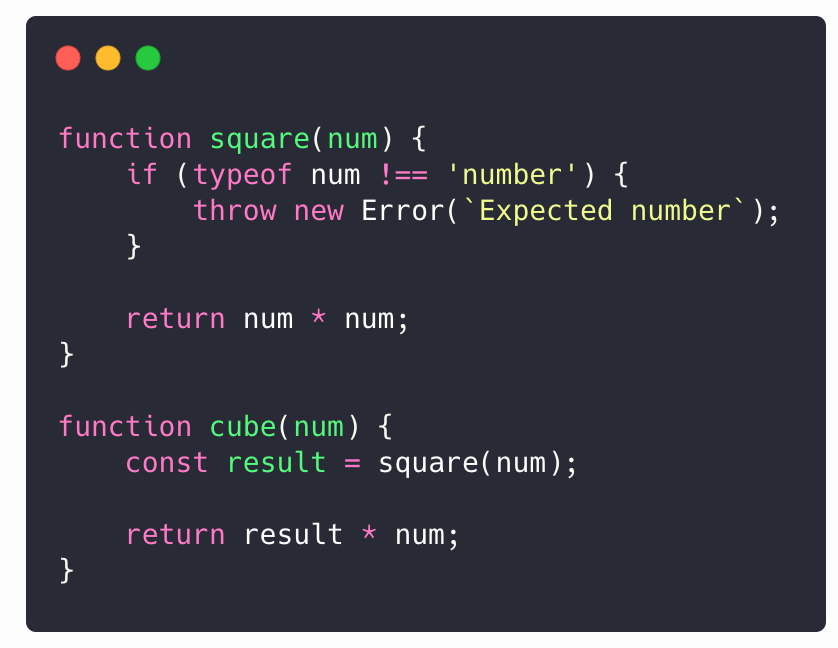
Functions let you group a series of statements together to perform a specific task. If different parts of a script repeat the same task, you can reuse the function (rather than repeating the same set of st atements).
Declaring A Function:
- You declare a function by using the function keyword.
- Give the function a name followed by parentheses().
- Set the statement that perform the task in a code block inside curly braces{}.
Calling A Function:
To run the code in the function, you use the function name followed by a parentheses (calling a function). You can call the function as many times as you want.
Declaring Functions That Need Information:
If the function needs information to work, you indicate what it needs in parentheses after the function name which are called (Parameters). Inside the function those words act like variables.
Calling Functions That Need Information:
When you call a function that has parameters, you specify the values it should use in the parentheses that follow the name. The values are called arguments.
Getting A Single Value Out Of The Function:
Some functions return information to the code that called them. The return keyword is used to return a value to the code that called the function.
Getting A Multiple Values Out Of The Function:
Functions can return multiple values using an array.This array is then returned to the code that called the function, allowing the values to be used.
ANONYMOUS FUNCTIONS & FUNCTION EXPRESSIONS
- FUNCTION DECLARATION: A function declaration creates a function that you can ca ll later in your code. In order to call the function later in your code, you must give it a name, so these are known as named functions.
- FUNCTION EXPRESSION: In function expressions, the name is usually omitted. A function with no name is called an anonymous function. In a function expression, the function is not processed until the interpreter gets to that statement.
IMMEDIATELY INVOKED FUNCTION EXPRESSIONS (llFE):
Pronounced “iffy,” these functions are not given a name. Instead, they are executed once as the interpreter comes across them.
VARIABLE SCOPE
The location where you declare a variable will affect where it can be used within your code. If you declare it within a function, it can only be used within that function. This is known as the variable’s scope.
- LOCAL VARIABLES: When a variable is created inside a function using the var keyword, it can only be used in that function. It is called a local variable or function-level variable. It is said to have local scope or function-level scope. It cannot be accessed outside of the function in which it was declared.
- GLOBAL VARIABLES: If you create a variable outside of a function, then it can be used anywhere within the script. It is called a global variable and has global scope. Global variables are stored in memory for as long as the web page is loaded into the web browser.
HOW MEMORY & VARIABLES WORK
Global variables use more memory. The browser has to remember them for as long as the web page using them is loaded. Local variables are only remembered during the period of time that a function is being executed.

Pair Programming
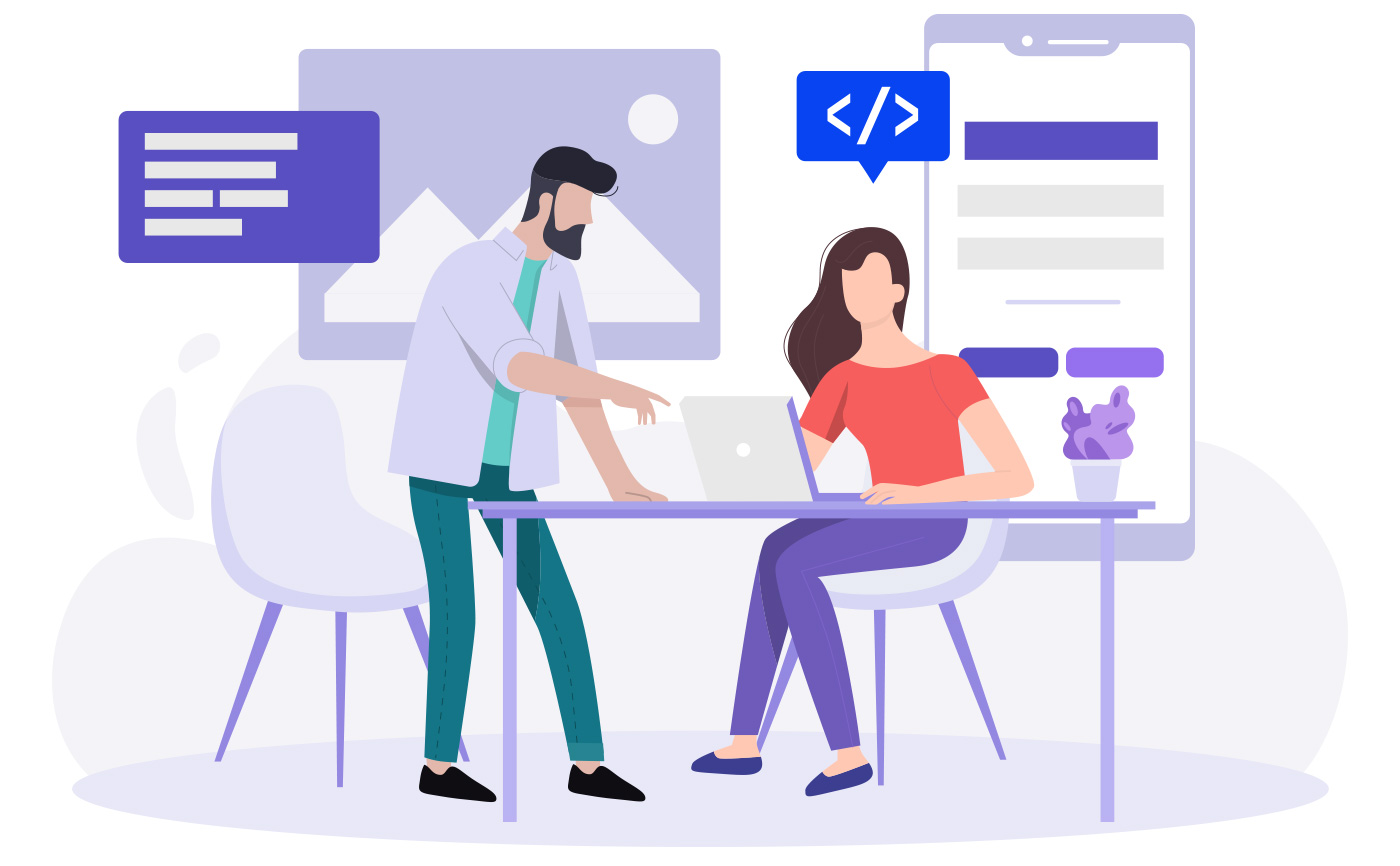
pair programming is the practice of two developers sharing a single workstation to interactively tackle a coding task together.
How does pair programming work?
pair programming commonly involves two roles: the Driver and the Navigator. The Driver is the programmer who is typing and the only one whose hands are on the keyboard. Handling the “mechanics” of coding, the Driver manages the text editor, switching files, version control, and—of course writing—code. The Navigator uses their words to guide the Driver but does not provide any direct input to the computer.
Why pair program?
Pair programming touches on all four skills: developers explain out loud what the code should do, listen to others’ guidance, read code that others have written, and write code themselves.
- 1. Greater efficiency: when two people focus on the same code base, it is easier to catch mistakes in the making. pair programing takes slightly longer, but produces higher-quality code that doesn’t require later effort in troubleshooting and debugging.
- 2. Engaged collaboration: When two programmers focus on the same code, the experience is more engaging and both programmers are more focused than if they were working alone. Another important aspect of learning to program is knowing when to ask for help. When developers pair program, they rely more on each other and can often find a solution together without needing to ask for additional help. Ultimately, this boosts overall confidence.
- 3. Learning from fellow students: working with a teammate can expose developers to techniques they otherwise would not have thought of. If one developer has a unique approach to a specific problem, pair programming exposes the other developer to a new solution.
- 4. Social skills: air programming is great for improving social skills. When working with someone who has a different coding style, communication is key. Pair programming not only improves programming skills, but can also help programmers develop their interpersonal skills.
- 5. Job interview readiness: A common step in many interview processes involves pair programming between a current employee and an applicant, either in person or through a shared screen. For most roles, the ability to work with and learn from others and stellar communication skills are as (or more!) important to a company than specific technical skills. Pair programming strengthens all of those skills.
- 6. Work environment readiness: Many companies that utilize pair programing expect to train fresh hires from CS-degree programs on how they operate to actually deliver a product. Code Fellows graduates who are already familiar with how pairing works can hit the ground running at a new job, with one less hurdle to overcome.
